6

How can I scribe this very curved sink? I want to fill the gap. Bought the cabinet as you see it. I can remove the small 3/4' thick rectangular piece (it is pocket screwed in). The ultimate goal it to close that gap to maker t look like the sink is built in to the cabinet.

My Sink

I want it to look like this:

This is what I want

isherwood
  • 158,133
  • 9
  • 190
  • 463
Marinaio
  • 1,674
  • 5
  • 29
  • 48

3 Answers3

9

Start by making a template.

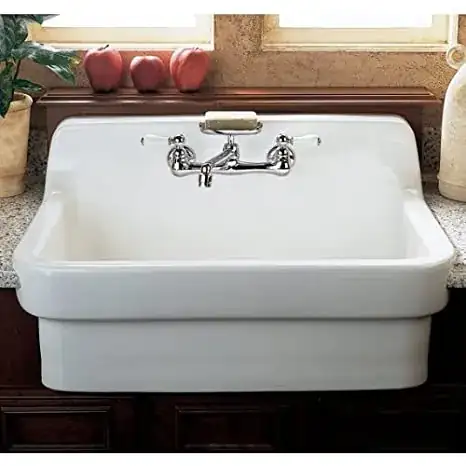
Using a dry-erase marker, draw a line on the sink where it will meet the new cabinet cutout. You can hold a ruler flat against the rectangular piece shown in the photo to guide the marker.

Temporarily remove the currently installed rectangle and replace it with a rectangle of material from which the template will be cut.

Cut a short length of scrap material (e.g. paint stirrer) to bridge the widest part of the gap, plus a quarter inch or so. Keeping this bridge strictly horizontal and flat against the rectangle, trace the marker line on the sink with one end. The other end will describe a path on the rectangle; mark this path with your carpenter's pencil.

The line on the sink is to help you keep the end of the bridge in the plane of the rectangle surface, especially where the gap is widest.

After cutting the template along the pencil line, match it against the line on the sink and trim it for a tight fit.

A. I. Breveleri
  • 14,929
  • 1
  • 27
  • 47
3

Thanks to all of your comments I completed this task. Here is what I did:

  1. Bought a $5 compass from Ocean State job lots
  2. tacked a small 1/4" lauan to the side, butting against the sink
  3. Transferred the curve to the lauan. Did this about 6 times until happy
  4. Cut the curve with skill saw about 80 degrees, gently sanded the curve to the line with a pwr sander, tested the curve, sanded again - repeat until happy
  5. Used that template on a 3/4" ply scarp then painstakingly repeated step 4 on the real piece.
  6. Accepted that OK was "good enough" and quit!

That took me a day, the other side took about an hour.

When I'm ready I will pocket screw it in and paint it.

This is what I ended up with

Marinaio
  • 1,674
  • 5
  • 29
  • 48
-3

I would first start by not doing this and acquiring a more appropriate sink, as it'll probably be a real nuisance if it needs any maintenance.

However, the next steps for what you want would be:

  • Take a photo of your sink from the front with a ruler nearby
  • Use a an image-editing tool to size up a mask for the edge
  • Print out your image, cut the line, and see how it fits (it may take more than one sheet of paper)
  • Make any needed adjustments, and use it as a template for a few more (the other side is a mirror, mistakes, etc.)
  • Paste your template onto a test piece or if you're brave the cabinet part you intend to use
  • Cut with a scroll saw, following the line
ti7
  • 145
  • 5