I'm doing similar right now,at my home.
The problem is twofold.
- Silt and sediment will flow with the water and ultimately, may either clog the geotextile, or bypass it (through it if its a broad enough pores, or round the open end if left open). Let alone weed roots. You don't want that.
- The geotextile greatly impedes water flow. You want it to have as much free area and possible pathways to allow water flow through it. As well as excess area, as safety margin, to ensure water can still flow when the inevitable silting happens.
Both of these have the same end result. You separate the geotextiles from silt, as best you can, externally, and from the pipe, internally. Digging a foot deeper is easy. You don't want to have to redo the job.
So I'd go further than you propose. I'd do it like this:
- Dig out 3 feet deep, not 2, and 18 not 12 inches wide.
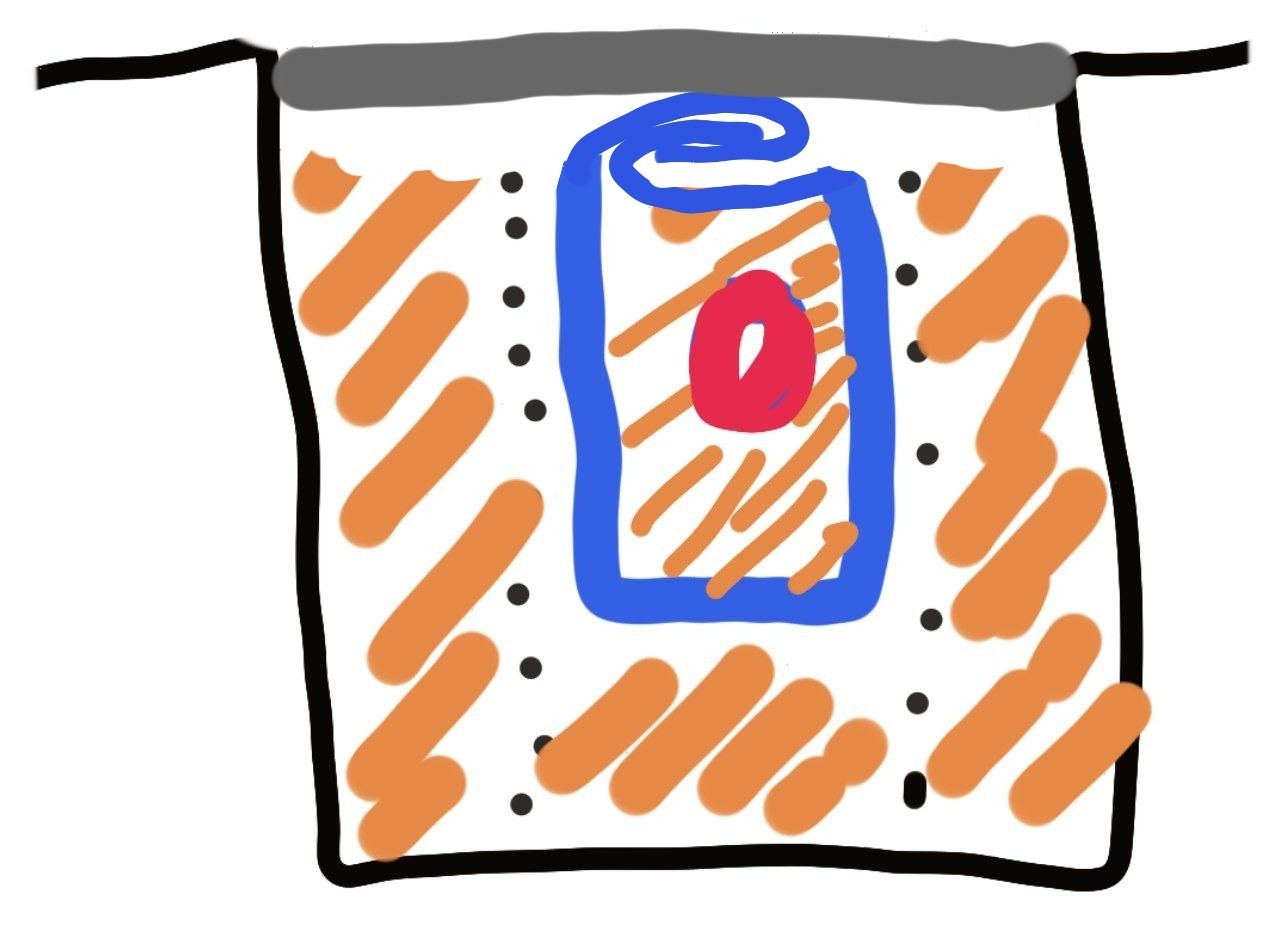
- Using plywood sheets cut lengthways, divide the trench above this layer into 3 sections widthwise - 4 inches wide on each side, 10 inches wide in the middle.
- Hammer into the soil or stake them lightly, so the bottoms and tops stay where they're put while you are working. Not too heavily, though, you want to be able to remove the plywood and stakes easily after. An alternative to.hammering or staking would be shallow battens (up to 1 inch top-to-bottom deep) at the bottom of the trench, acting as spacers. That's shallow enough to not be an issue and can be left there when the plywood is removed.
- In all 3 sections lay 4 inches of 10mm (half inch) gravel or other coarse aggregate.
- Put your geotextile in the centre section.
- Put another 3 inches aggregate in each section.
- Lay your pipe in the middle of the centre section
- Fill all 3 sections to just above pipe level
- Remove all plywood/stakes
- Fill trench with rest of aggregate to a few inches below ground level.
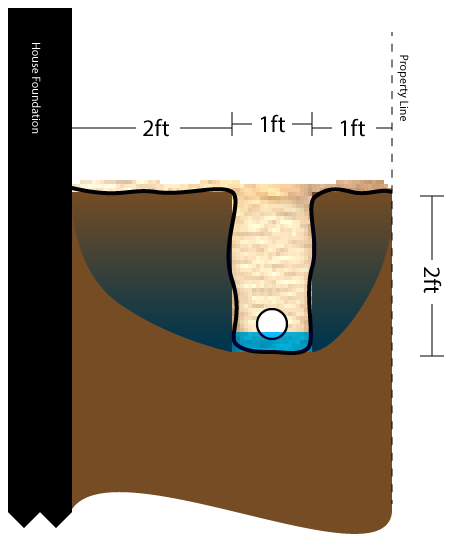
- Roll geotextiles around over itself and lay flagstones on it to hold it closed against silt from near surface level, and to reduce soil movement over time at the top and edges of the trench.

- black dots - plywood sheets (removed after)
- brown stripes - aggregate
- blue line - geotextile
- grey - flagstones
The aim is that your geotextiles has space on all sides externally for maximal water entry and to keep silt away as best possible, and space on all sides internally to ensure any water that enters past the geotextile isn't blocked or obstructed by the plastic of the pipe, and that if it is, there's a chance it can percolate into a different perforated hole. Silting will happen and we want to minimise the obstructions to water flow, maximise possible water pathways, and delay the time it takes, as much as we reasonably can. Everything is geared to that goal.
The use of small aggregate means there is maximum chance of small passageways remaining open as silt tries to percolate. The use of a decent thickness of aggregate inside and out (3 - 4 inches all directions, internal and external) maximises the chance that despite inevitable silting, there's enough space for many pathways that water will still percolate. The rolled top and flagstones aim to prevent anything affecting the top, and specifically silt entering from above, or as the ground changes or is trodden over time.
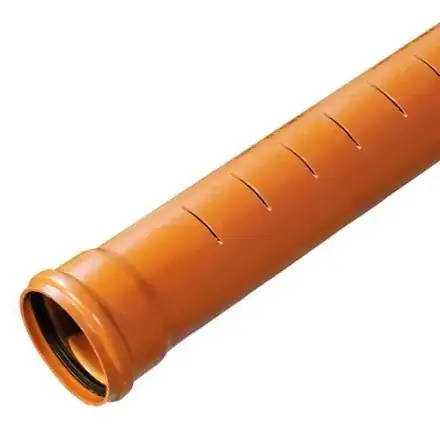
One thing, if your perforated pipe has slots not holes, its better. You can use 1/2 inch gravel and it won't get into the pipe, whereas with holes you need much larger aggregate between the geotextile and pipe. This kind of thing (you can cut extra slots with a saw if needed as well):
Update; Last, add an upward 45 degree bend at the start of the pipe, and add a rodding point at ground level, so you can jetspray or rod the pipe if it does block, or at least check it isn't blocked.
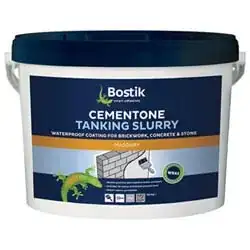
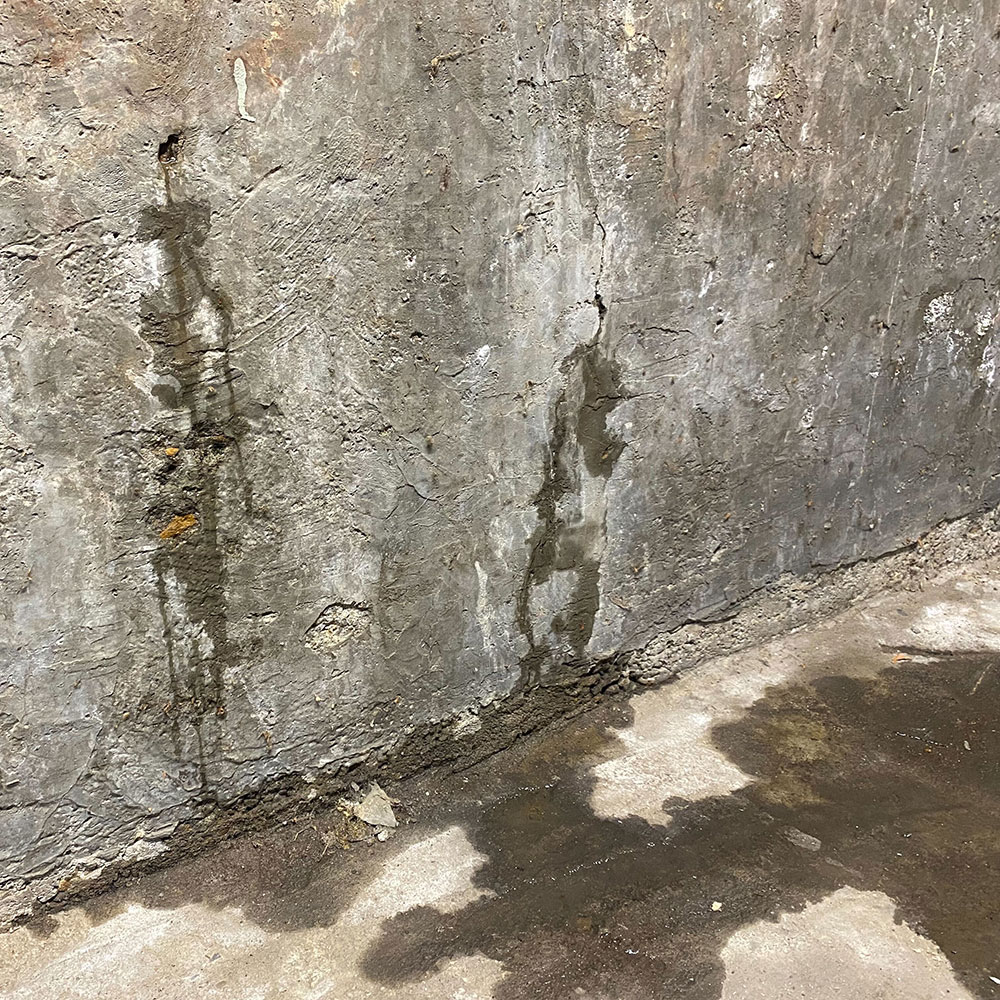
Other update: Consider a waterproof coating (tanking product its called here, don't know the US name). Something you coat on the inside wall + floor, to block or at least reduce water intrusion, before optionally overcoating. This sort of thing.