4

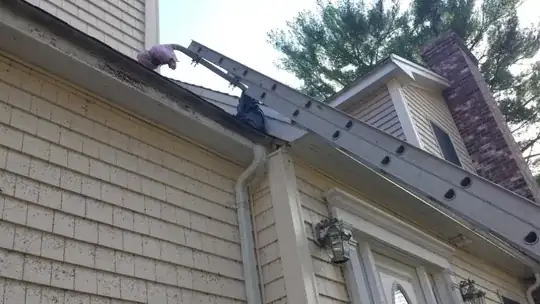
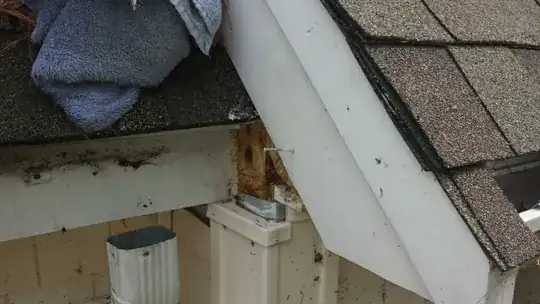
I could really use some professional advise here. I removed a piece of rotten trim I found while cleaning the gutters. The problem is pretty apparent in the photos with the gutter removed. Water followed the roof at the bottom of the rake and found its way in because there was really nothing stopping it.

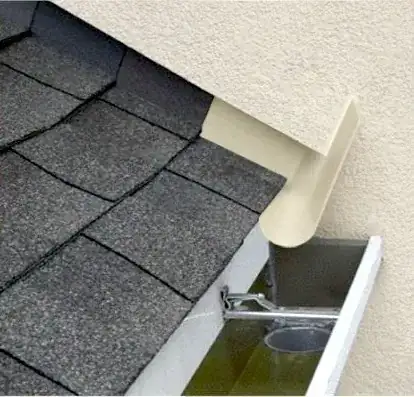
How would a professional have avoided this???

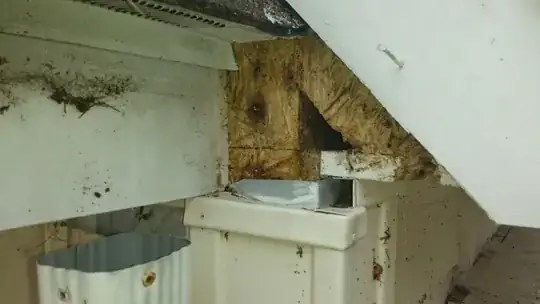
I am not a carpenter and my best thought solution is not pretty. (continue the step flashing down to the end of the rake board, and cut a piece of trim to fit under it) this would leave about a half inch gap between the rake board and the flashing and would not be too pretty as you can imagine. That solution would carry the rain water over the end of the gutter also which I would like to avoid. You will also notice that a triangle piece of trim would just barely cover the opening at the top of the corner molding. (not good)

I don't trust myself to come up with the best solution here. Does anybody have some sound professional advise? pic1 pic2 enter image description here

Brett
  • 41
  • 1

2 Answers2

5

The term to research is kick out flashing. It's used when a roof line butts up against a vertical surface near the edge. It sends the water away from the vertical edge into the gutter. Example:

enter image description here

DA01
  • 24,586
  • 30
  • 82
  • 153
1

Doing it right requires avoiding back-laps. That means removing some of the intersecting fascia, all of the rake trim from the triangular area and some shingles because avoiding back-laps means starting from the bottom and working all the way to the top.

For the water management plane, I'd consider self-adhered flashings placing a first layer across all corners, counter-flashing with more of it, and then counter-flashing the whole layer with brake-metal fabrications followed by sealing all joints with a high quality sealant.

Again all working from bottom to top while making sure that water flows out, not in. The key to proper flashing is thinking about how water flows.